
I’ve recently dove headfirst into running LLMs on my local hardware, and I wanted to share what I’ve learned and how I’ve set it up so others that want to do the same thing, may.
If you’re on a Windows Desktop machine, and you just want to interact with LLMs on your desktop, then skip to the section about installing Ollama.
Hardware
When it comes to the hardware, I utilized my media PC that had mostly been sitting dormant. This PC has a 5700X and RTX 3070 Ti, which is more than enough to get started. As of now in 2024, it’s still a great time to build a PC using new or used parts. If you need to brushup on how to build a PC, LTT created a great video here. I’ve found that most LLMs < 10B parameters (which we’ll talk about later) only need ~8GB of VRAM. So if you’re able to secure a GPU that has that amount of VRAM or less, you’ll be in a great spot.
For this PC, in order to run Linux (as I’m more comfortable with tweaking it than Windows), I added an additional M.2 NVMe SSD with Linux Mint. I set Linux Mint to be the first device in the boot order in the BIOS so that if a reboot does happen (reboot, update, etc.), Linux is booted instead of Windows.
Software
This is the list of software that I’m currently using, in list of importance
- To make my life easier, on machine
- Linux Mint
- Docker
- Portainer (to manage containers on the machine in a flashy way)
- Lazydocker
- Specific to running the LLMs
- Ollama
- Open-webui (previously Ollama WebUI)
Setting up Docker
For installing Linux Mint on a computer’s storage device via a USB, I’ve been really enjoying Ventoy since it allows you to load multiple ISOs on a single device, and then select which one you want to boot. Ventoy supports booting EFI and BIOS, and makes it pretty effortless to install any OS via ISO that you can imagine, so you don’t need a USB stick for each and every ISO you want to possibly use.
After installing Linux Mint, I then installed Docker since that will be the containerization software will be used to run the various containers that we’ll need for the LLMs. I used and ran the Docker installation script from Docker themselves, to easily install it on Mint.
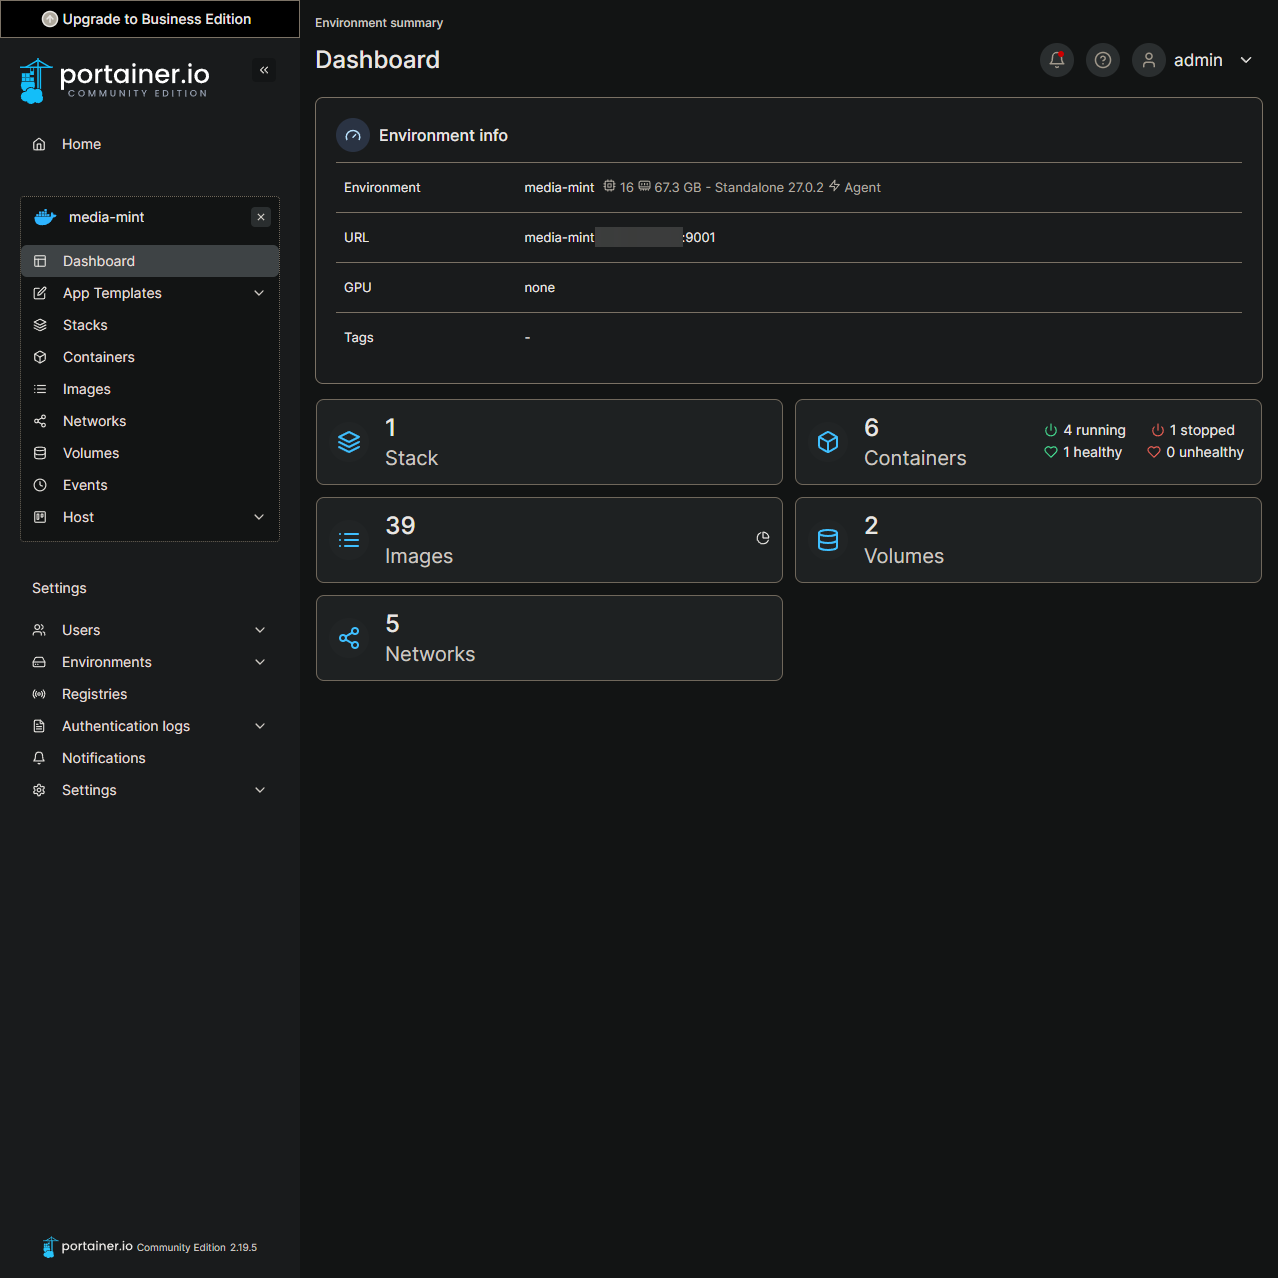
To easily manage my Docker containers running on the machine, and since I consider myself to be a GUI clicking connisour, I installed Portainer on the machine. Portainer sets up a super easy to use, and pretty GUI for managing containers on a machine. If you’re more inclined towards a TUI (Terminal User Interface), check out lazydocker. Feel free to even install both as I did, if you like both.
I think Portainer looks pretty good, if I do say so myself.
Tweaks needed to have Nvidia cooperate with Linux Mint
To get the drivers for the Nvidia GPU to load at boot, I had to modify the file of /etc/modules with the following lines. I found this information from this article:
nvidia
nvidia-drm
nvidia-modeset
Setting up Ollama
Now that we’ve got Docker set up and installed, we can finally move onto setting up the most important part of running LLMs locally. If you’re trying to follow this sort-of guide via a Windows machine, you’ll want to have Docker Desktop already installed before you continue onto running Ollama locally.
Next, we’ll want to follow the steps listed on Ollama’s DockerHub repository, especially the steps that have to do with setting it up when using an Nvidia GPU. Running Ollama with just a CPU can be done, Ollama is just a lot faster when using an Nvidia GPU.
curl -fsSL https://nvidia.github.io/libnvidia-container/gpgkey \
    | sudo gpg --dearmor -o /usr/share/keyrings/nvidia-container-toolkit-keyring.gpg
curl -s -L https://nvidia.github.io/libnvidia-container/stable/deb/nvidia-container-toolkit.list \
    | sed 's#deb https://#deb [signed-by=/usr/share/keyrings/nvidia-container-toolkit-keyring.gpg] https://#g' \
    | sudo tee /etc/apt/sources.list.d/nvidia-container-toolkit.list
sudo apt-get update
sudo apt-get install -y nvidia-container-toolkit
sudo nvidia-ctk runtime configure --runtime=docker
sudo systemctl restart docker
If you have an AMD GPU, you’ll want to follow the steps in the section for setting up the requirements for AMD GPUs.
Now that we have everything we need set up for Ollama to use our Nvidia GPU, we can go ahead and run it! This command will also create a Docker volume named ollama to store everything, so that our data persists across reboots and we don’t accidentally delete our data.
docker run -d --gpus=all -v ollama:/root/.ollama -p 11434:11434 --name ollama ollama/ollamaNow, if we wanted to run something like Llama3 with our Ollama, we could run a command such as the following:
docker exec -it ollama ollama run llama3But just interacting with Ollama via the CLI isn’t that much fun. Wouldn’t it be better if there was a GUI to interact with it, that was similar to ChatGPT and Perplexity? Well we’re in luck.
Setting up Open-WebUI (Formerly Ollama WebUI)
We’ll want to set up Open-WebUI and follow their instructions in their README.md so that we can use a GUI to interact with our Ollama.
Following their instructions, we can just run the following command on the machine that’s currently running Ollama:
docker run \
  -d -p 3000:8080 \
  --add-host=host.docker.internal:host-gateway \
  -v open-webui:/app/backend/data \
  --name open-webui \
  --restart always ghcr.io/open-webui/open-webui:main
If Ollama is running on another machine, we will need to modify the OLLAMA_BASE_URL value to whatever the IP or DNS hostname the machine is, that is currently running our Ollama:
docker run \
  -d -p 3000:8080 \
  -e OLLAMA_BASE_URL=https://example.com \
  -v open-webui:/app/backend/data \
  --name open-webui --restart always \
  ghcr.io/open-webui/open-webui:main
Using Docker Compose to run everything
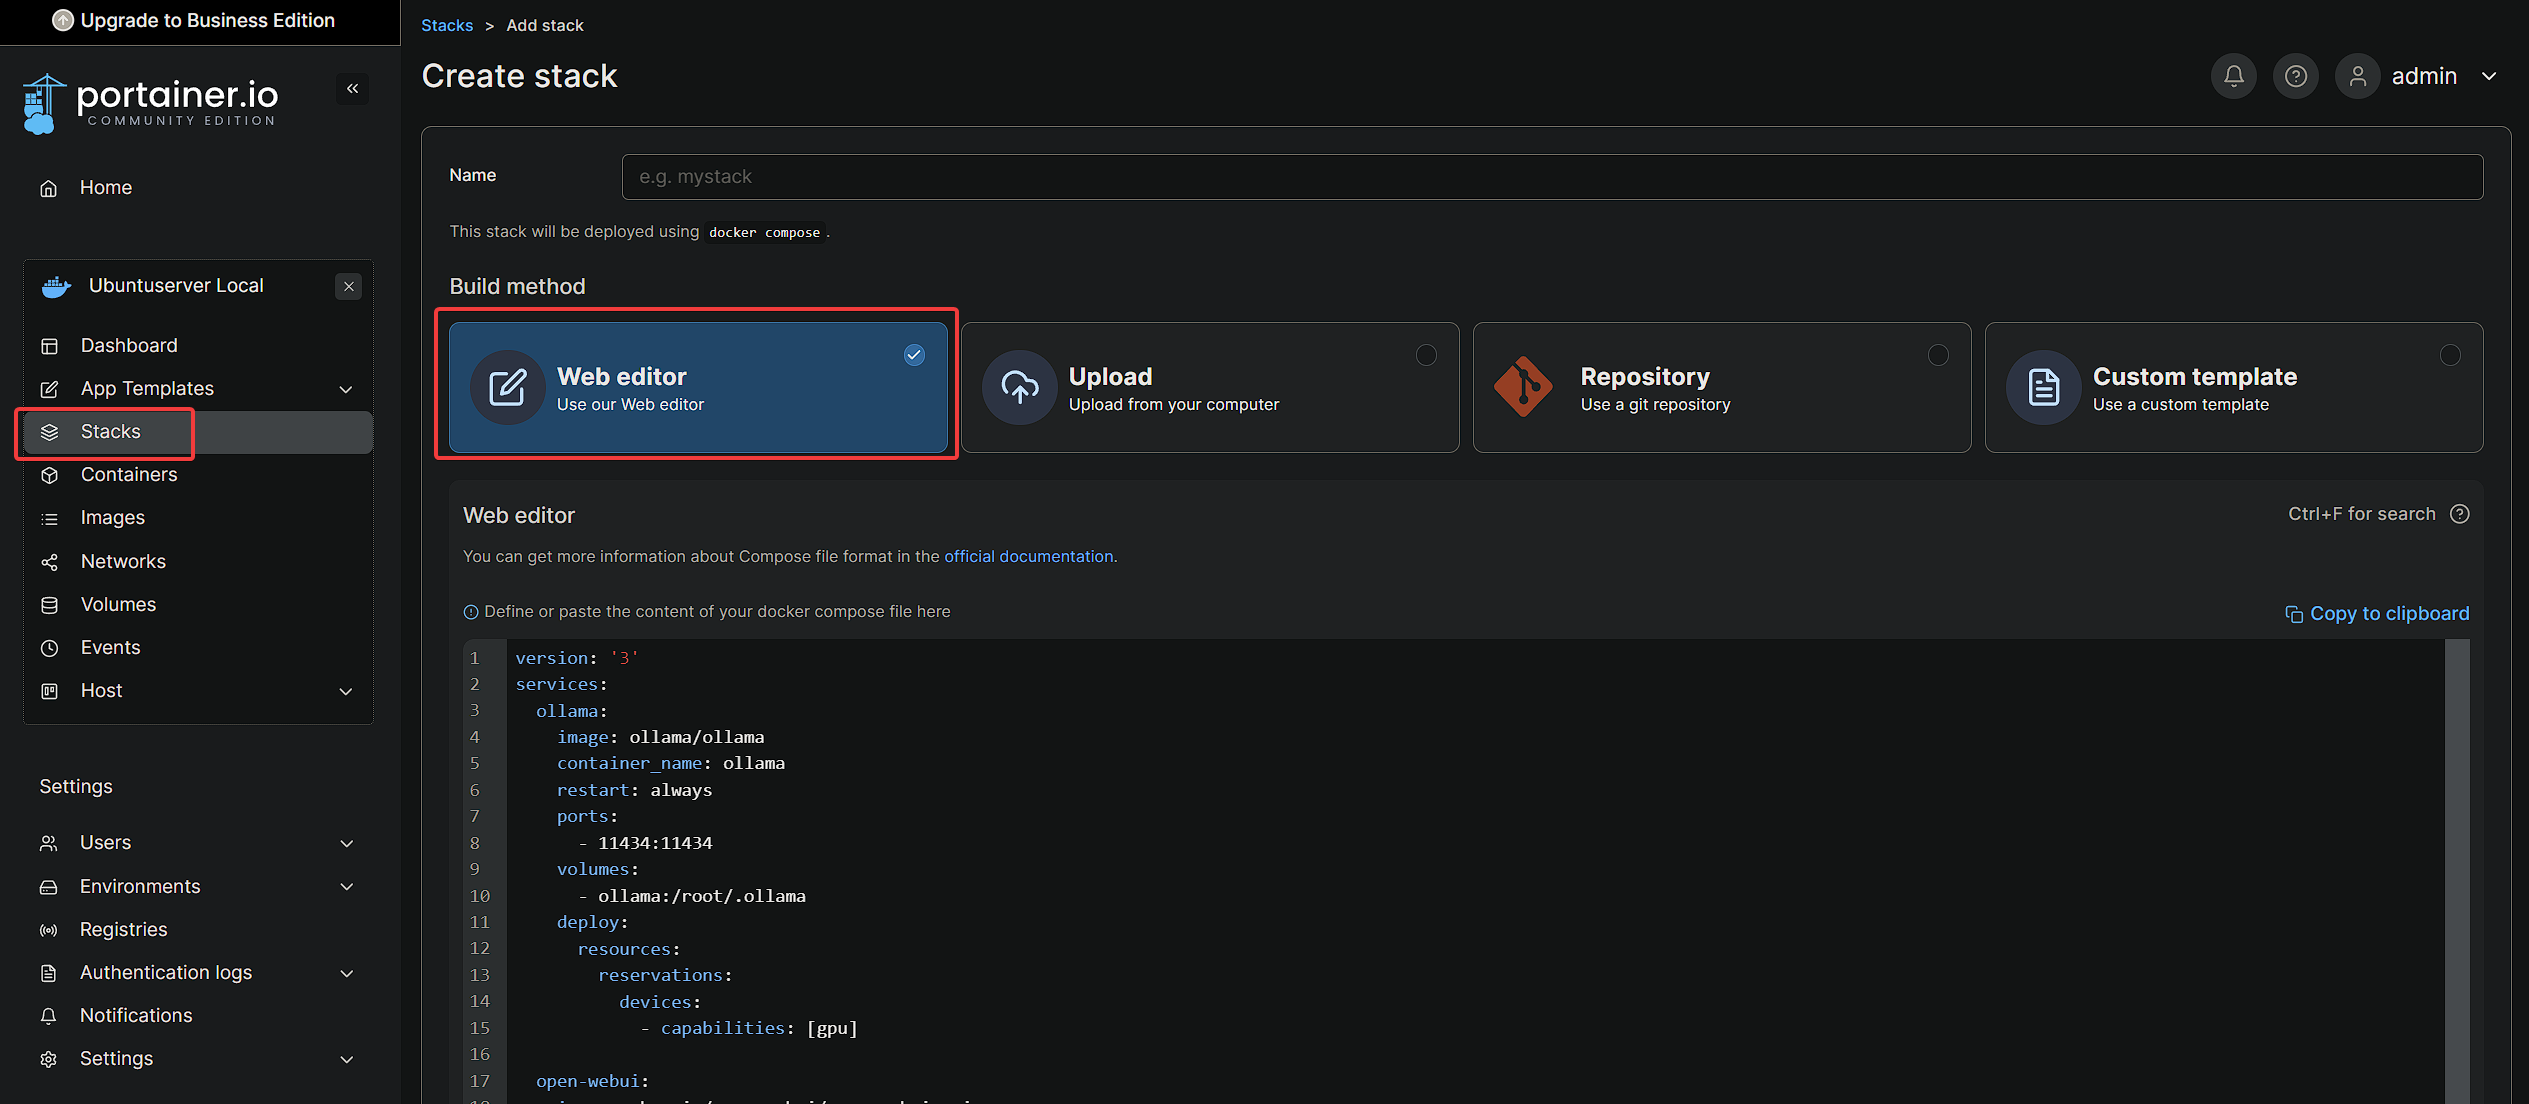
If we don’t want to run the above Docker commands after every single reboot, and we want to have it run at the computer’s startup, we can just use Docker compose! We’ll need to add this Docker compose stack to our Portainer, so that we can more easily interact with it. Below is an example of what the Docker compose yaml might look like:
version: '3'
services:
  ollama:
    image: ollama/ollama
    container_name: ollama
    restart: always
    ports:
      - 11434:11434
    volumes:
      - ollama:/root/.ollama
    deploy:
      resources:
        reservations:
          devices:
            - capabilities: [gpu]
  open-webui:
    image: ghcr.io/open-webui/open-webui:main
    container_name: open-webui
    restart: always
    ports:
      - 3000:8080
    volumes:
      - open-webui:/app/backend/data
    extra_hosts:
      - "host.docker.internal:host-gateway"
volumes:
  ollama:
  open-webui:
You’ll want to paste the above yaml in the “Stacks” section of your Portainer GUI, so that the containers and data will be managed by Portainer’s Docker compose stacks.
To upload a custom LLM
Let’s say there’s an LLM that isn’t currently on Ollama’s library, but it’s on HuggingFace, like the Orenguteng/Llama-3.1-8B-Lexi-Uncensored-V2-GGUF model. How do we get this model to Ollama?
First, we need to download the .gguf file from HuggingFace. Select one of the files below, and download it to a machine (it could be the same machine as what you’re running Ollama on, it doesn’t need to be):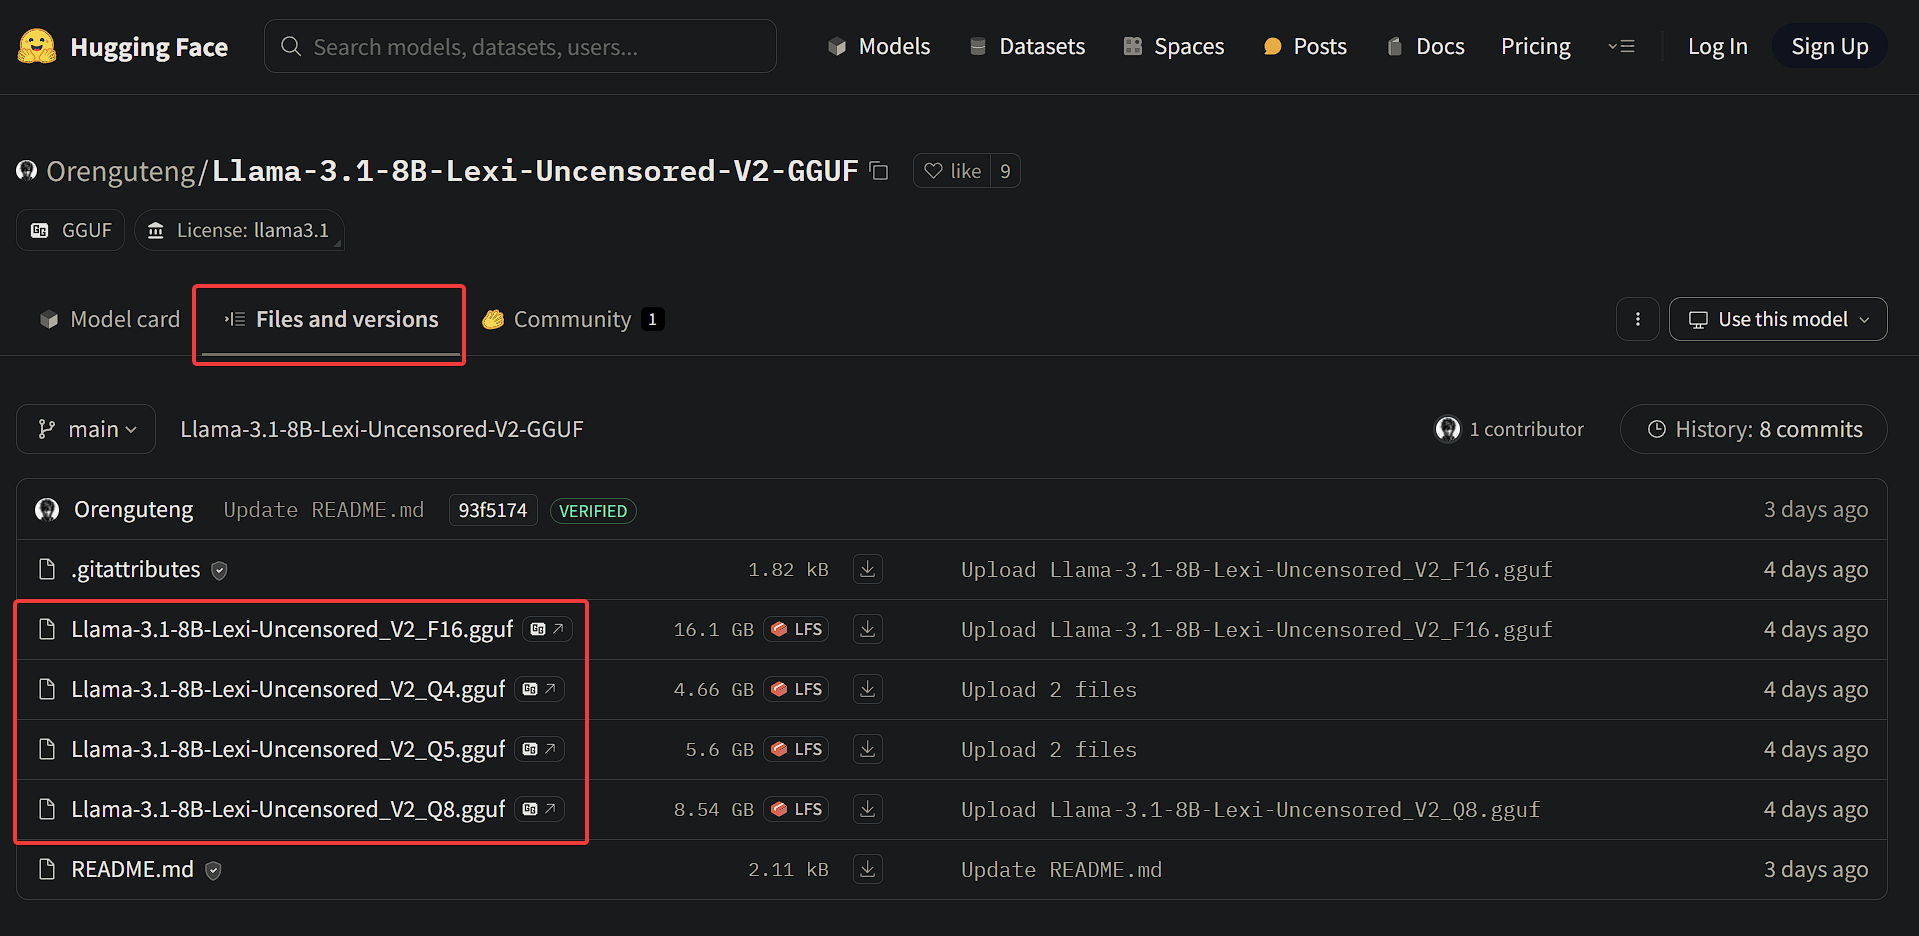
After downloading the .gguf file from HuggingFace of the LLM that you wish to upload to your Ollama, next you’ll want to create a .modelfile (kind of like a Dockerfile but for LLMs) that references this file on your machine. In this modelfile, we’ll also need to provide a system prompt so that the LLM knows how to act, and in this example we want an uncensored LLaMa 3.1 model. Below is an example of a file named llama3.1-uncensored.modelfile with a system prompt, if the downloaded .gguf file was in your ~/models folder:
FROM ~/models/Llama-3.1-8B-Lexi-Uncensored_Q8.gguf
TEMPLATE """{{- if or .System .Tools }}<|start_header_id|>system<|end_header_id|>
{{- if .System }}

{{ .System }}
{{- end }}
{{- if .Tools }}

Cutting Knowledge Date: December 2023

When you receive a tool call response, use the output to format an answer to the orginal user question.

You are a helpful assistant with tool calling capabilities.
{{- end }}<|eot_id|>
{{- end }}
{{- range $i, $_ := .Messages }}
{{- $last := eq (len (slice $.Messages $i)) 1 }}
{{- if eq .Role "user" }}<|start_header_id|>user<|end_header_id|>
{{- if and $.Tools $last }}

Given the following functions, please respond with a JSON for a function call with its proper arguments that best answers the given prompt.

Respond in the format {"name": function name, "parameters": dictionary of argument name and its value}. Do not use variables.

{{ range $.Tools }}
{{- . }}
{{ end }}
Question: {{ .Content }}<|eot_id|>
{{- else }}

{{ .Content }}<|eot_id|>
{{- end }}{{ if $last }}<|start_header_id|>assistant<|end_header_id|>

{{ end }}
{{- else if eq .Role "assistant" }}<|start_header_id|>assistant<|end_header_id|>
{{- if .ToolCalls }}
{{ range .ToolCalls }}
{"name": "{{ .Function.Name }}", "parameters": {{ .Function.Arguments }}}{{ end }}
{{- else }}

{{ .Content }}
{{- end }}{{ if not $last }}<|eot_id|>{{ end }}
{{- else if eq .Role "tool" }}<|start_header_id|>ipython<|end_header_id|>

{{ .Content }}<|eot_id|>{{ if $last }}<|start_header_id|>assistant<|end_header_id|>

{{ end }}
{{- end }}
{{- end }}"""
PARAMETER stop <|start_header_id|>
PARAMETER stop <|end_header_id|>
PARAMETER stop <|eot_id|>
From here, if you’re using a remote Ollama instance, you’ll want to set the OLLAMA_HOST variable to include your remote Ollama’s host URL e.g. http://ollama.network:11434. Below is how I do it in Fish. If you’re not using a remote Ollama instance or you’re confused at this point, you can skip this part:
set -xg OLLAMA_HOST http://media-mint.network:11434Now let’s create this llama3.1-uncensored LLM inside our Ollama using the above modelfile:
ollama create --file llama3.1-uncensored.modelfile llama3.1-uncensoredNow you should be able to interact with your new custom LLM!
ollama run llama3.1-uncensoredConclusion
Well that should be everything! You should have your Ollama and Open-WebUI managed by Portainer via its GUI (so that you can easily view and manipulate anything you need to), and should be able to upload your “custom” LLMs from HuggingFace if you need to!